Pokemon Pokopia Treasure Map Locations: All 6 Bubbly Basin Treasures
Find every Pokemon Pokopia Bubbly Basin treasure map location. Learn how to get Treasure Maps with the Dowsing Machine and collect the Super, Heal, Dive, Net, Lure, and Quick Ball Ornaments.
Author: Pokopia Guide Team
Treasure Maps point to six hidden rooms in Bubbly Basin. Each room contains a Ball Ornament: Super Ball, Heal Ball, Dive Ball, Net Ball, Lure Ball, or Quick Ball. Use the route for the matching map number below.
How to Get Treasure Maps
Equip the Dowsing Machine and explore with a Pokemon that has the Find Things specialty. Treasure Maps appear randomly. You can collect a treasure before finding its map, but all six maps are needed to complete the map collection.
Several routes are underwater or inside caves. Learn Dive first and make sure you can enter Bubbly Basin. For repeated long cave routes, prepare a Smoothie so you can Surf while Diving.
| Map | Reward | Landmark |
|---|---|---|
| Treasure Map 1 | Super Ball Ornament | Behind the Pokemon Center |
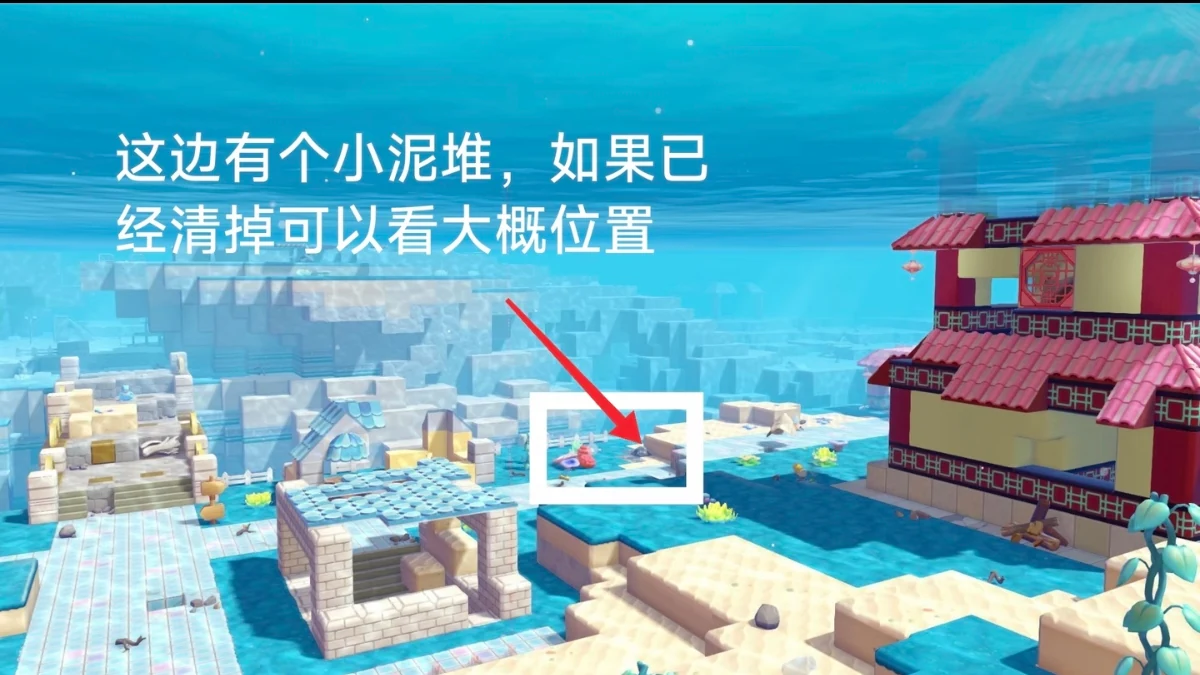
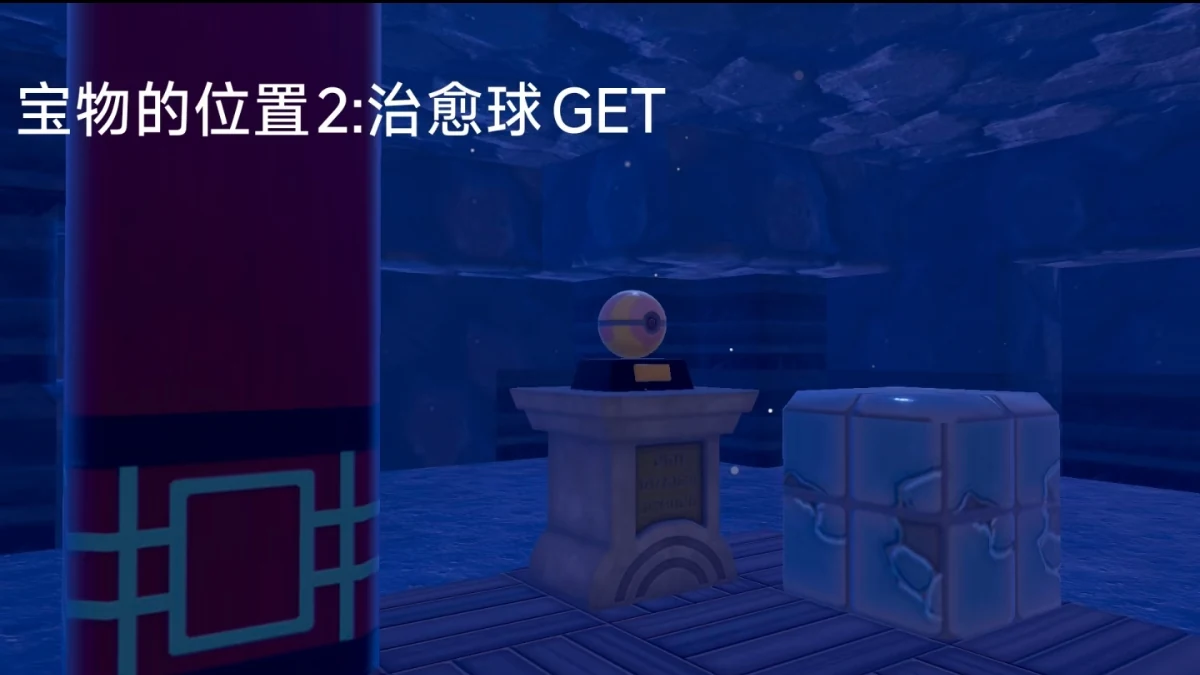
| Treasure Map 2 | Heal Ball Ornament | Small mud pile area |
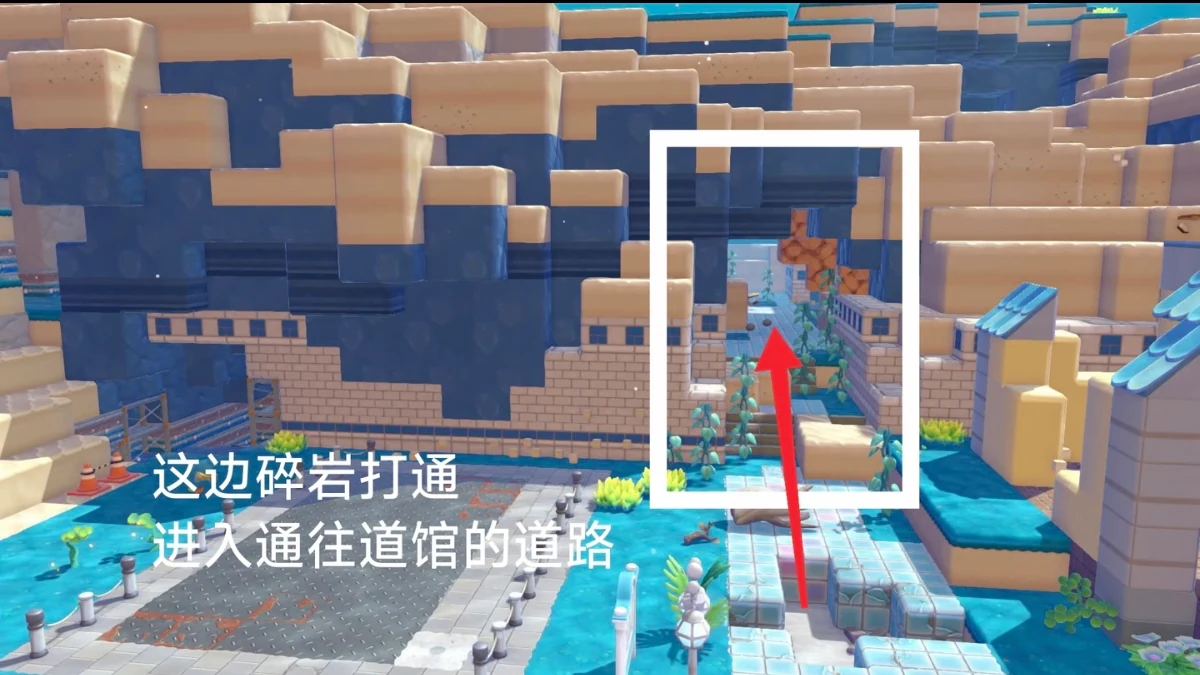
| Treasure Map 3 | Dive Ball Ornament | Left of the Gym entrance |
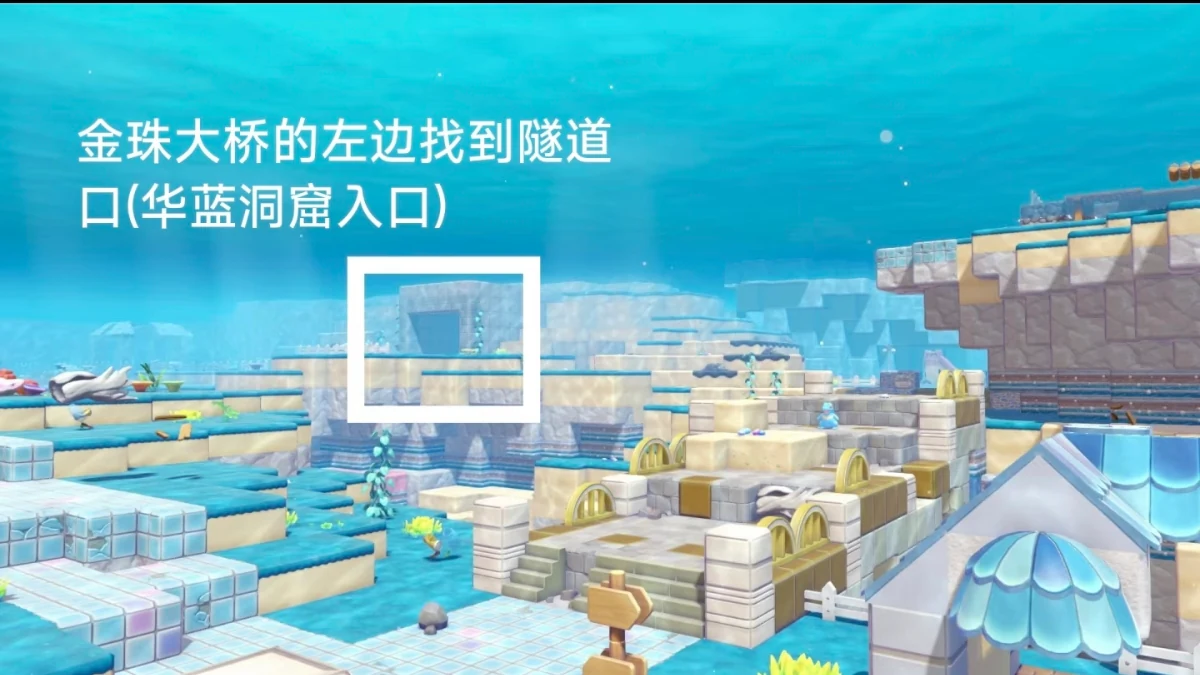
| Treasure Map 4 | Net Ball Ornament | Cave left of Golden Pearl Bridge |
| Treasure Map 5 | Lure Ball Ornament | Near Bill's Lab |
| Treasure Map 6 | Quick Ball Ornament | Near the gloomy warp gate |
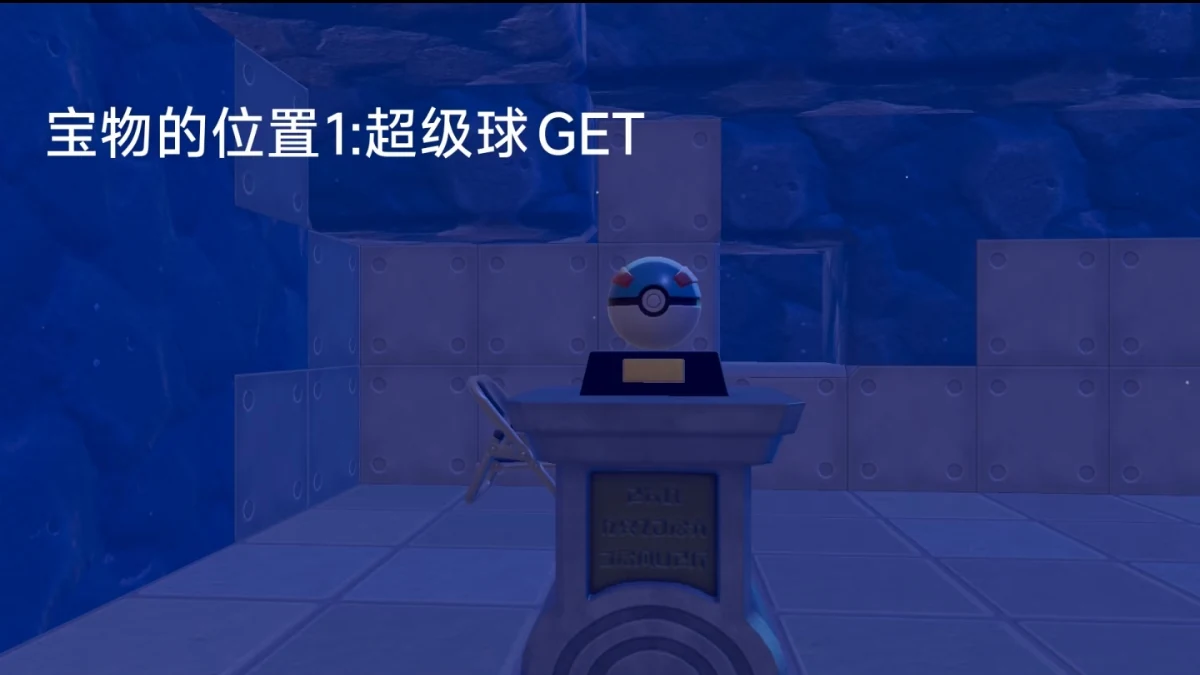
Treasure Map 1: Super Ball Ornament
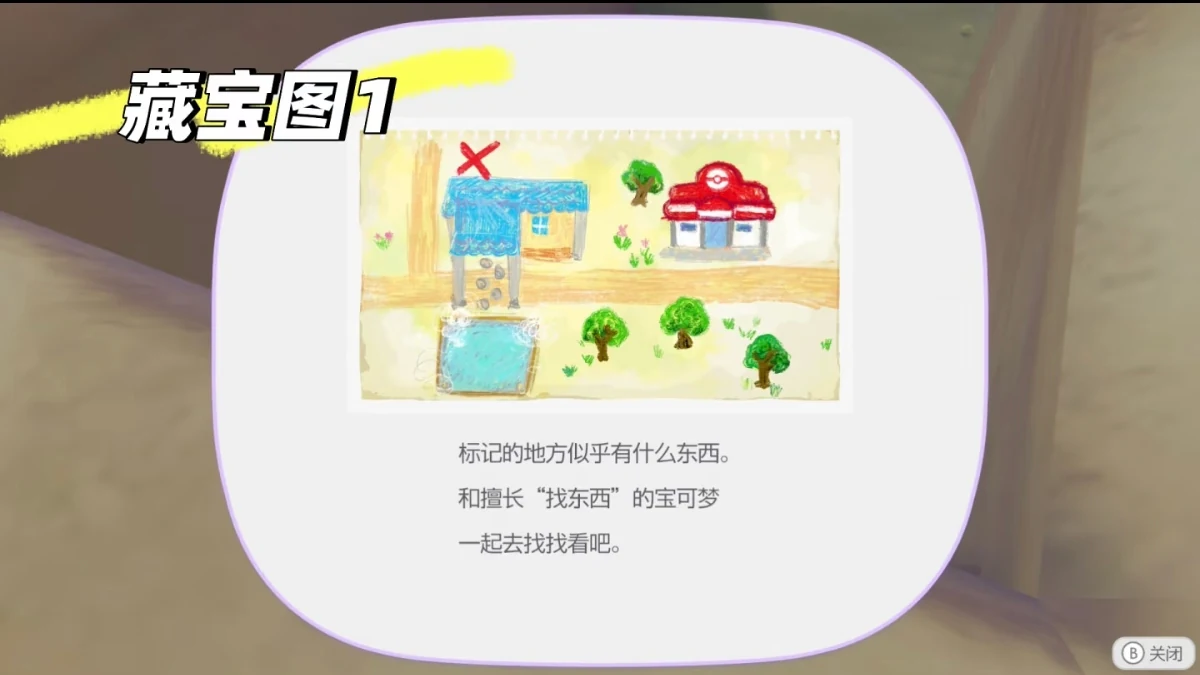
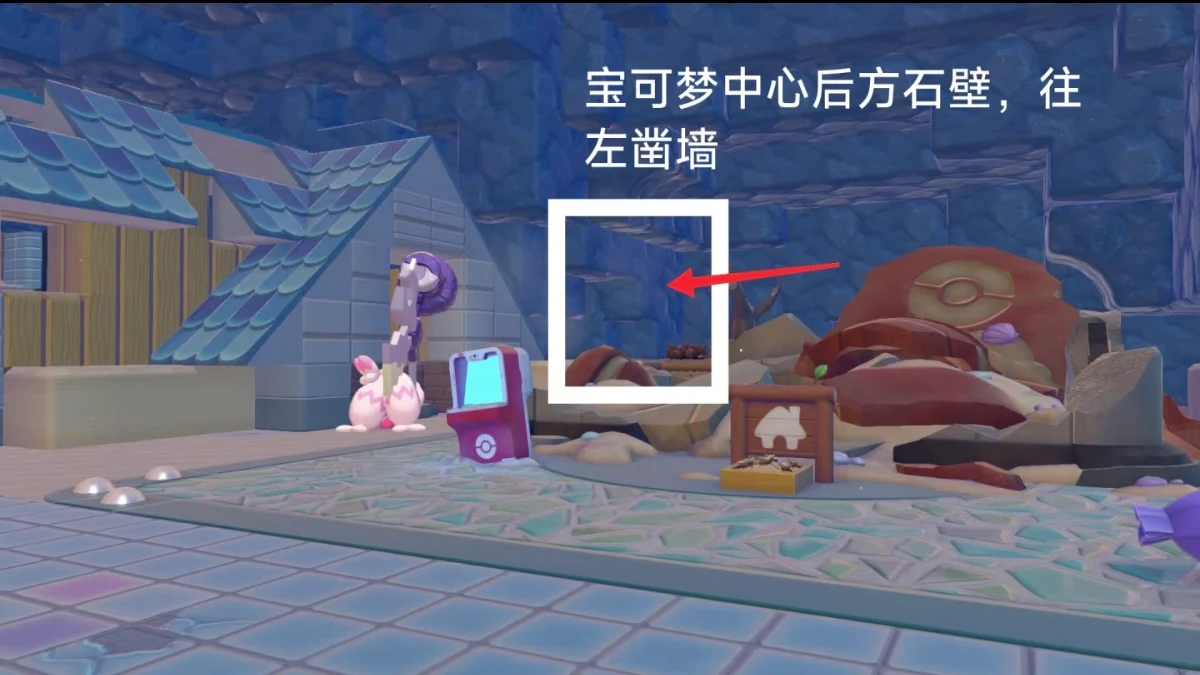
Go behind the Pokemon Center. Start at the left side of the rock wall, dig horizontally to the left until the hidden room appears, then collect the Super Ball Ornament.
Treasure Map 2: Heal Ball Ornament
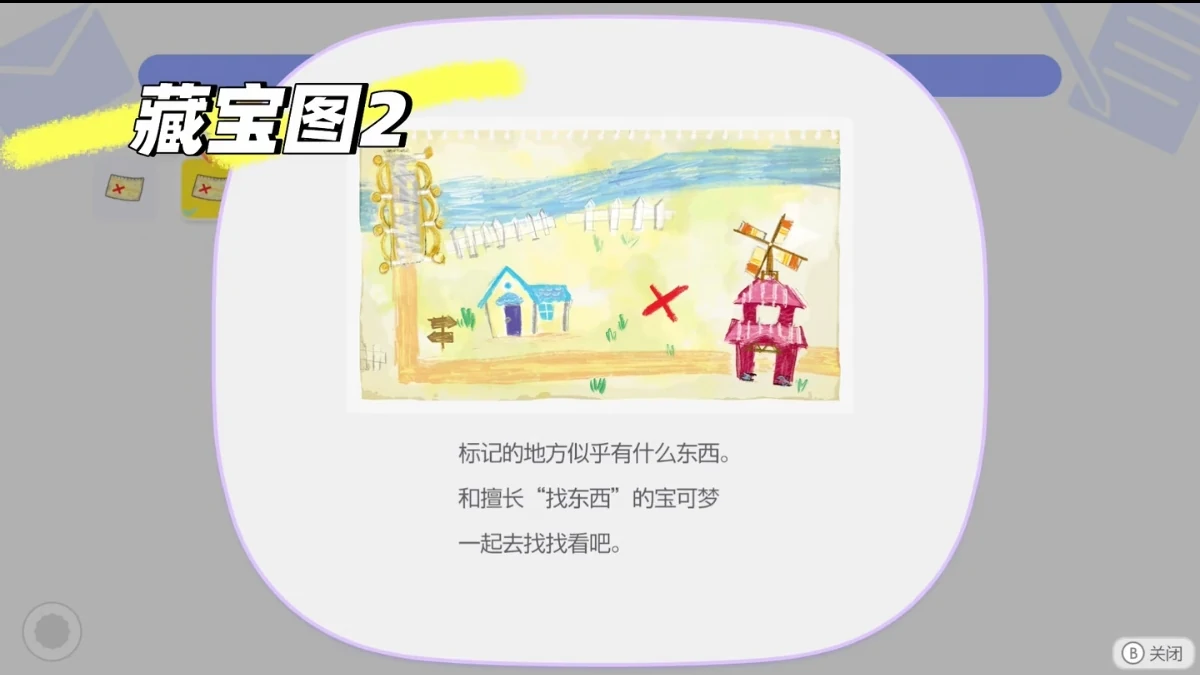
Find the small mud pile area. Even if the pile has already been cleared, use the same spot. Dig straight down from the marked tile to reach the hidden room and collect the Heal Ball Ornament.
Treasure Map 3: Dive Ball Ornament
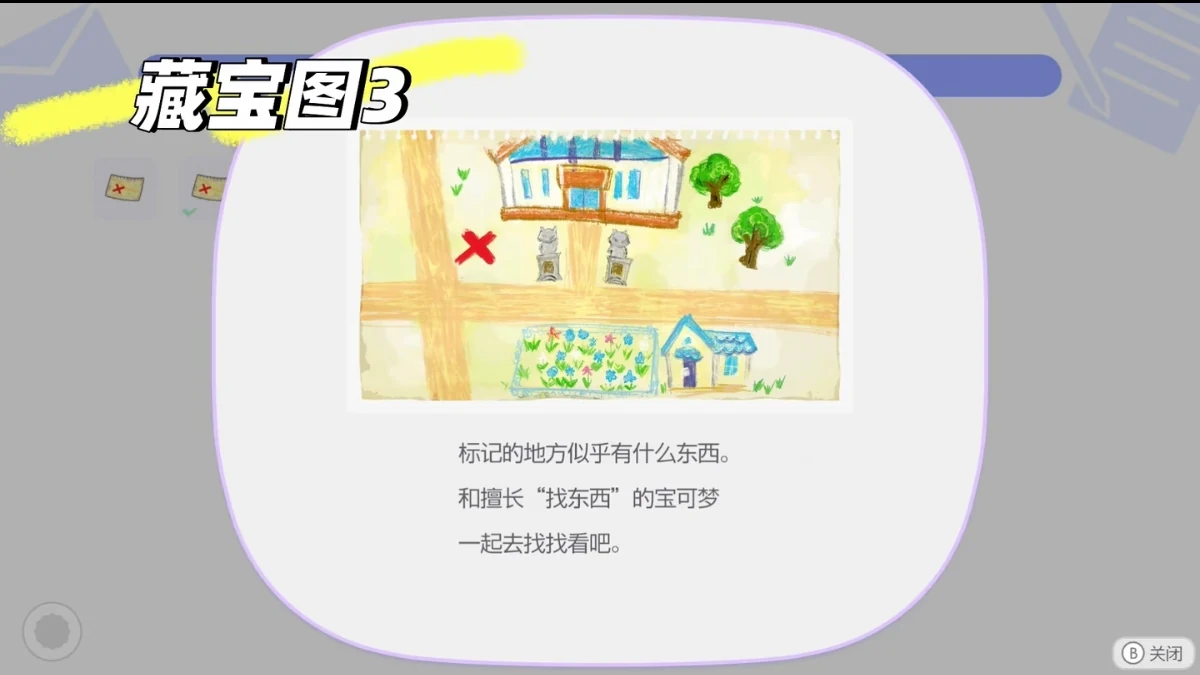
Break through the rocks leading to the Gym. At the Gym entrance, clear the rocks on the left side and enter the hidden room for the Dive Ball Ornament.
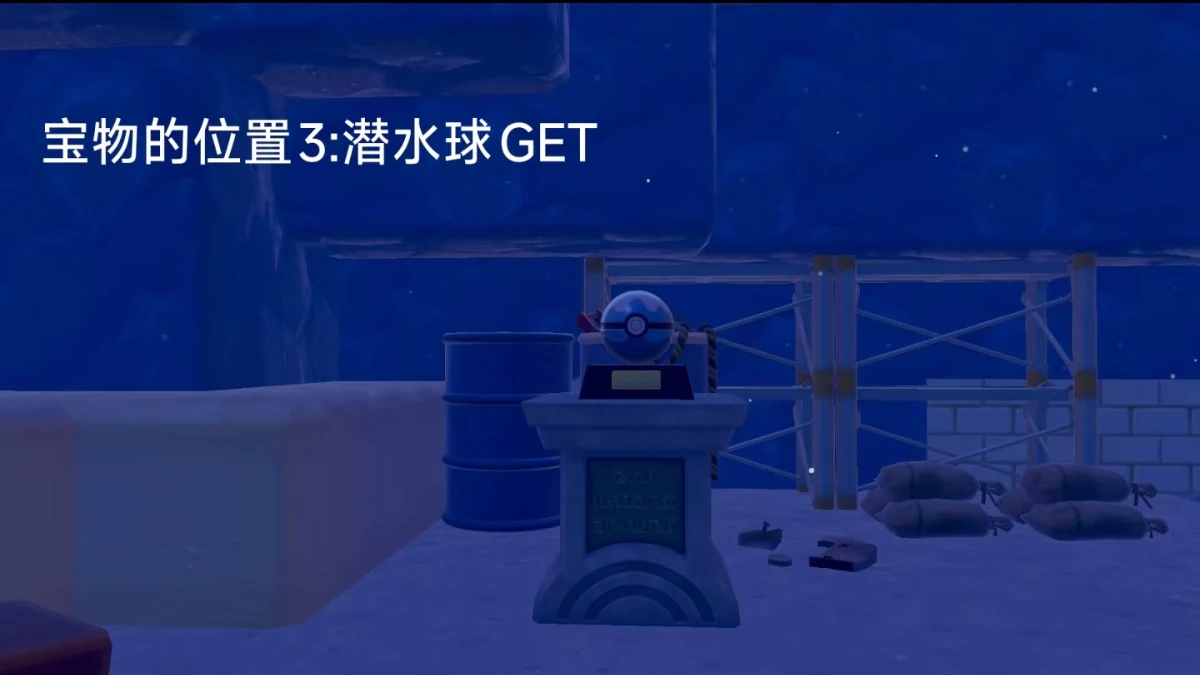
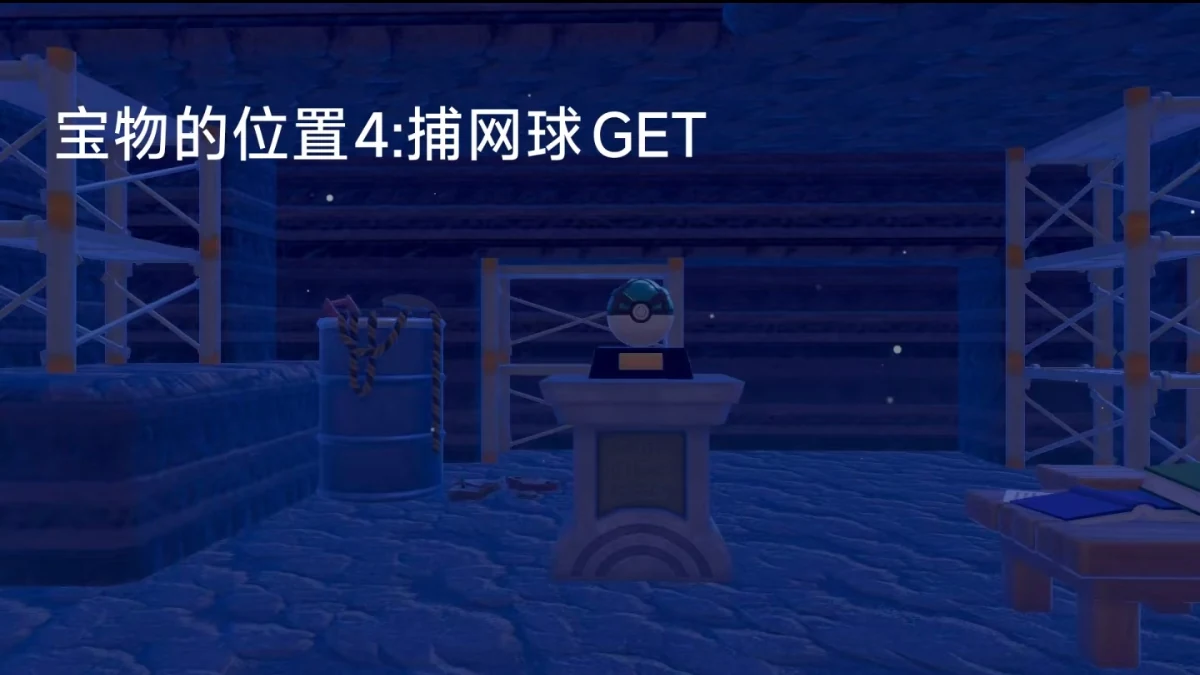
Treasure Map 4: Net Ball Ornament
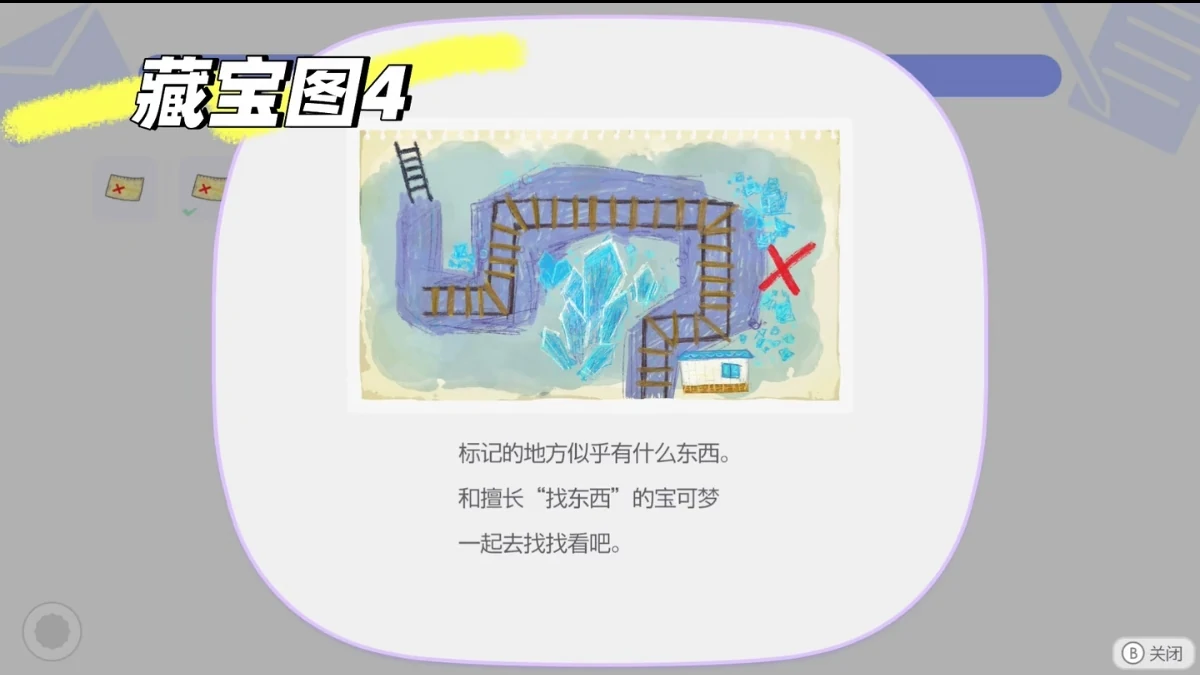
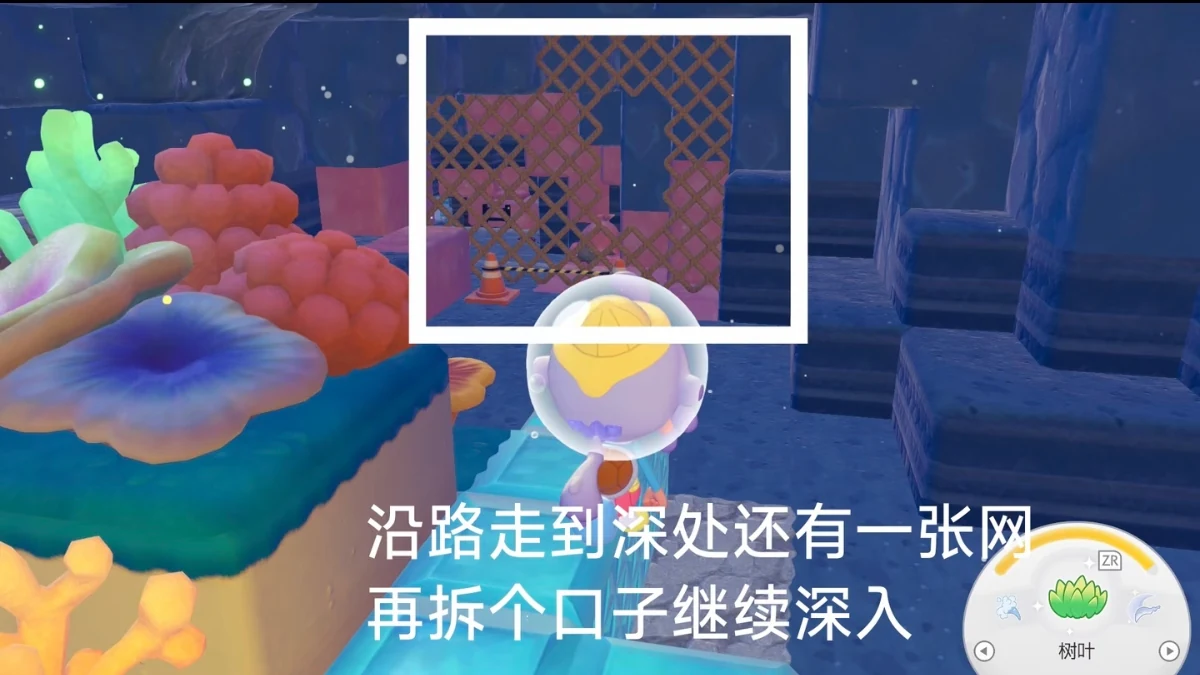
This is the longest route. Enter the cave left of Golden Pearl Bridge, open the entrance net, and continue inside. Surface at the end, move right, then Dive in the small pool with a ladder. Open the second net, follow the rails, and dig forward by the broken chest and crystal. The hidden room contains the Net Ball Ornament.
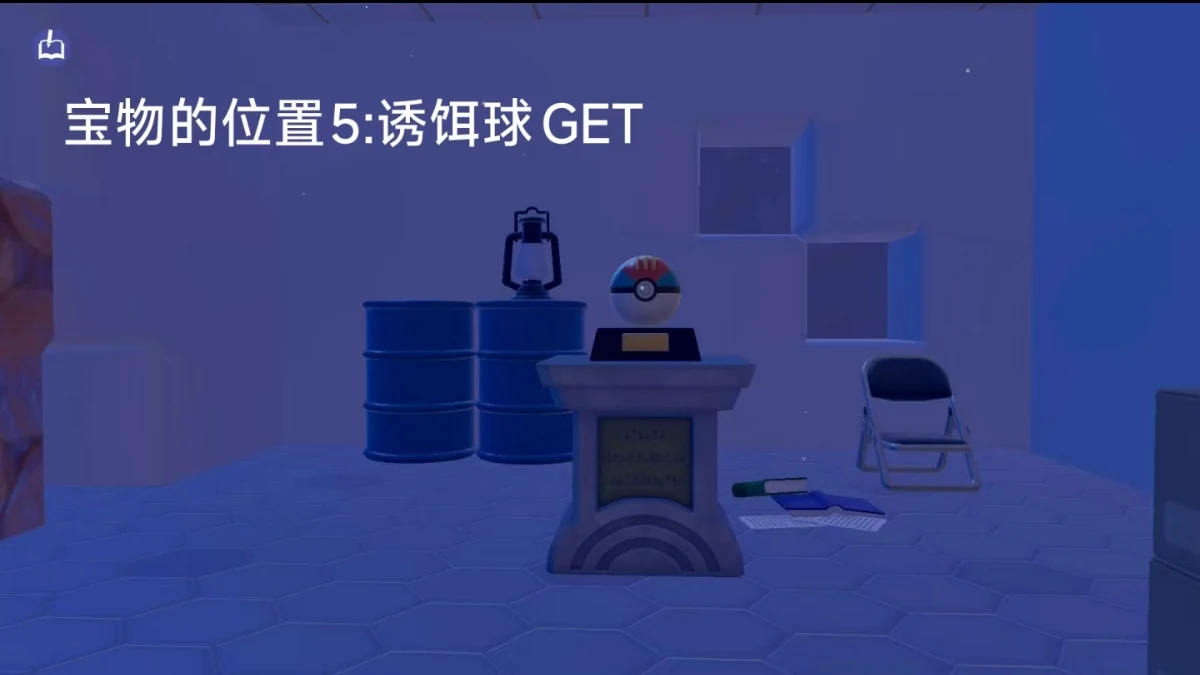
Treasure Map 5: Lure Ball Ornament
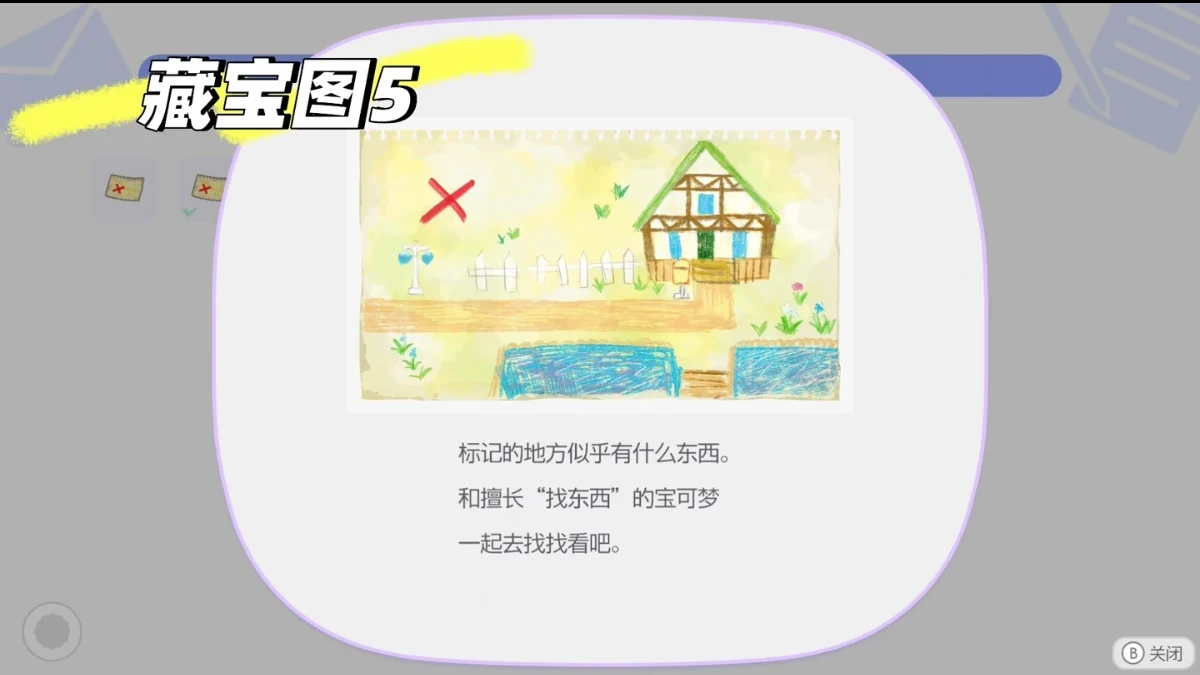
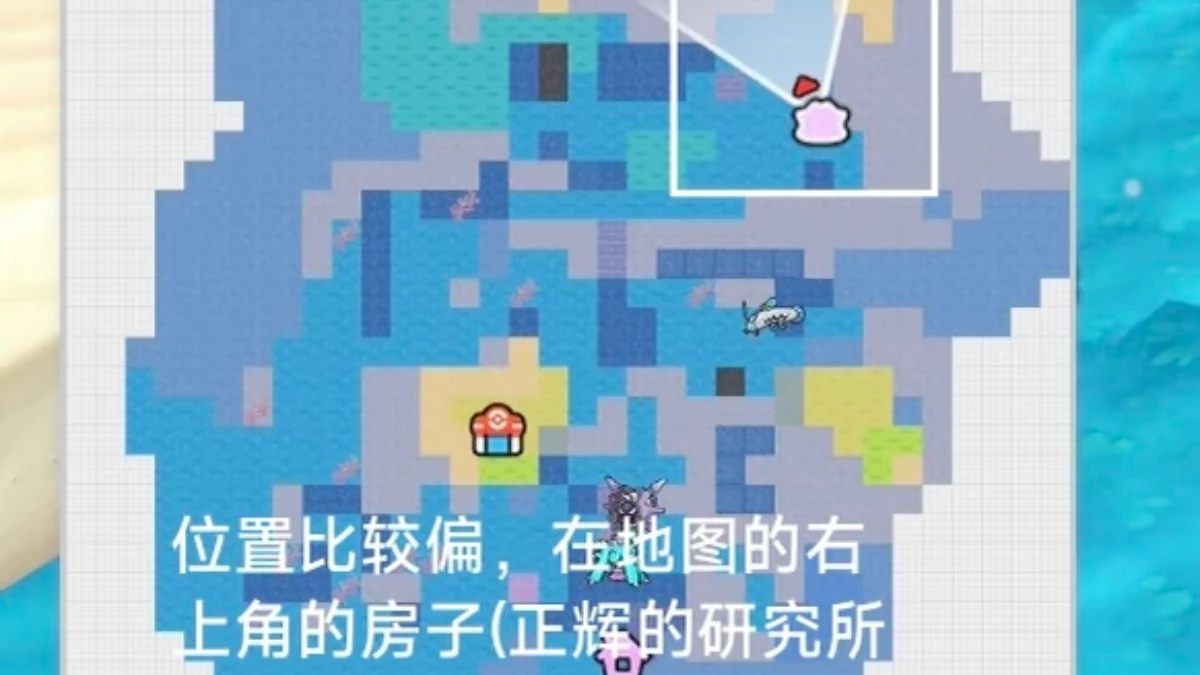
Go to the upper-right part of the map near Bill's Lab. On the raised ground to the left of the house is a patch of grass. Dig straight down from that tile to find the Lure Ball Ornament.
Treasure Map 6: Quick Ball Ornament
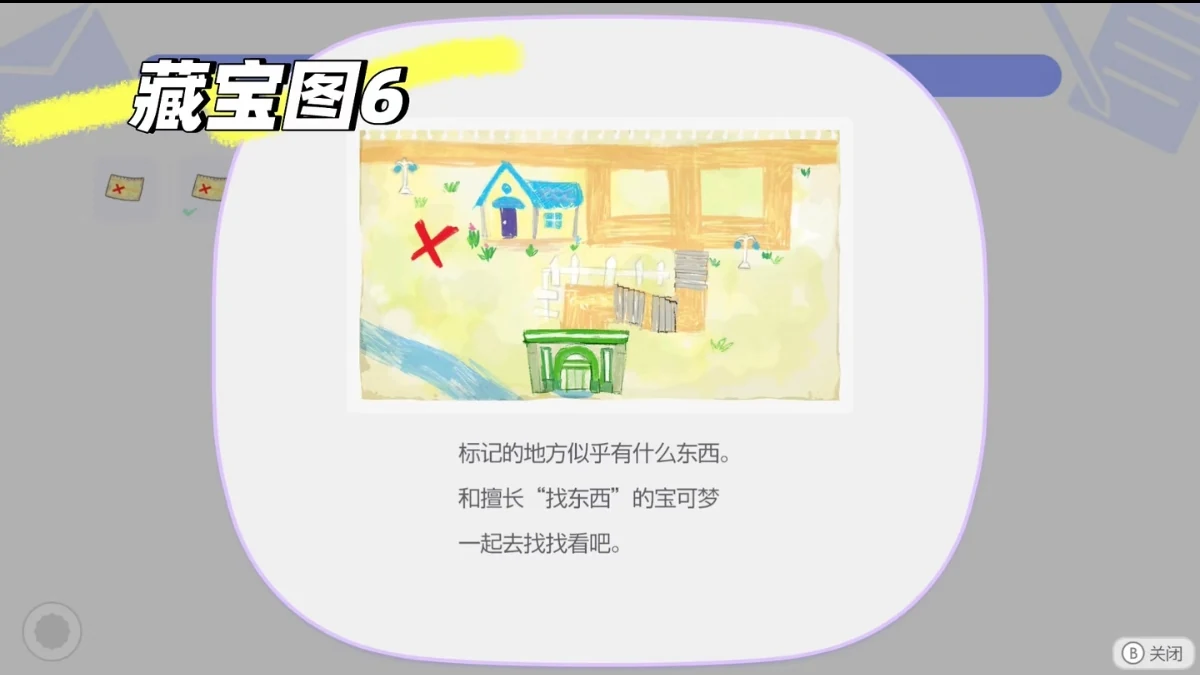
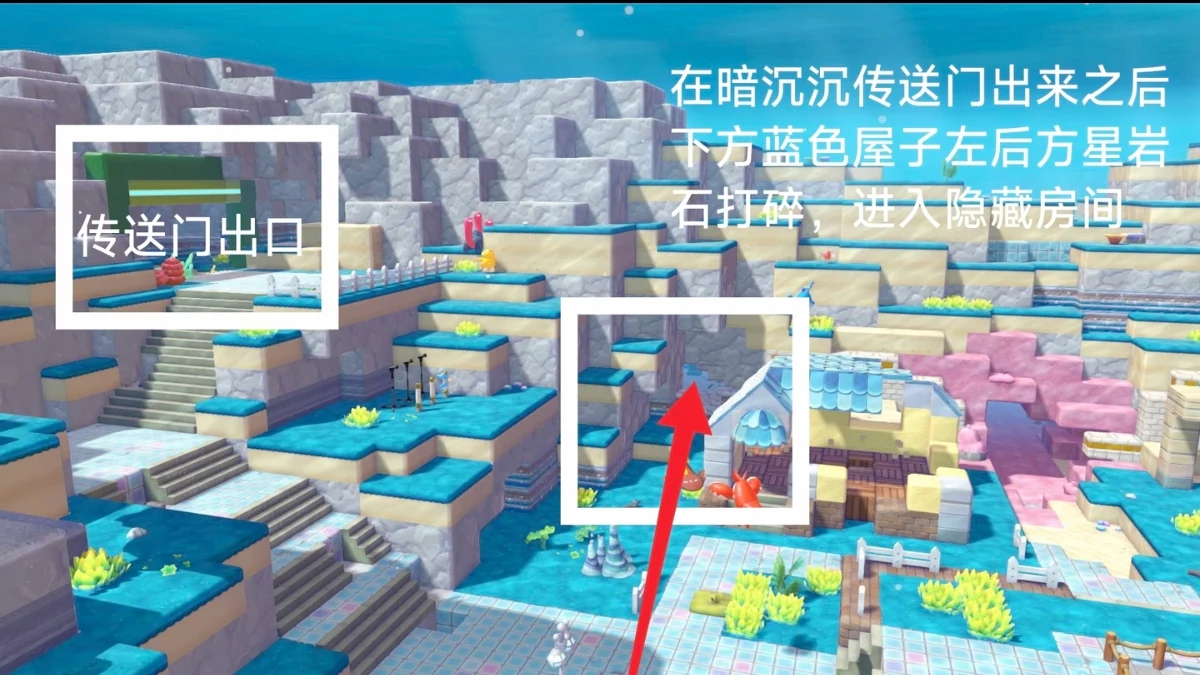
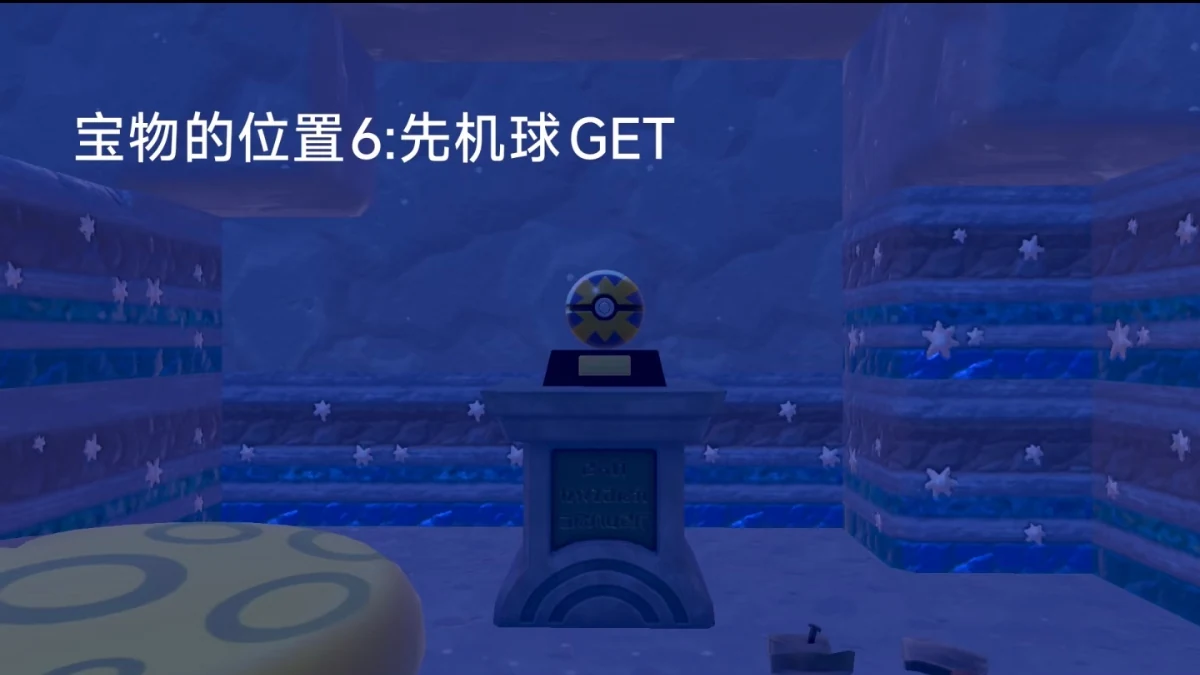
After leaving the gloomy warp gate, head behind the left side of the blue-roofed house below it. Break the marked rock to enter the hidden room and collect the Quick Ball Ornament.
Related Guides
Found incorrect data? Let us know